I ordered my Raspberry Pi in the first couple weeks that it was available, and after a 4 month wait because the demand was so high, it has arrived. So what is a Raspberry Pi and what are the first steps you should do to use it? Well the first thing I did was read lots of instructions. Why? you may ask. Well because these instructions are engineers speaking to engineers. Now if this was a standard tool, or TV, or something that people grew up using everyday then I wouldn't stress or waste my time reading any manual. this is different, so read the instructions!
A Raspberry Pi is one of my favorite deserts, and also the name of my newest electronic toy. It's ...
...called Raspberry Pi because it's a cool name. But actually its a complex little computer that is about the size of a debit card.
Broadcom chip that contains BCM2835 700Mhz CPU
GPU - Broadcom VideoCore IV - can run 1080p30 videos
256MB ram
Composite video, HDMI, 2x USB2.0, 3.5mm audio jack
SPI, I2C, 8x GPIO pins
B model includes Ethernet port 10/100
Download the debian file here------> FILE TO DOWNLOAD (443MB)
or go to http://www.raspberrypi.org/downloads for more downloads
SHA- 11852df83a11ee7083ca0e5f3fb41f93ecc59b1c8
If you don't know how to do a checksum, I would recommend some easy software ---> Checksum
So the next part is installing Debian onto your Raspberry Pi. I used a tool called Win32-image-writer. Make sure you go and download the binary version.


You'll need to load the .IMG file from the debian download earlier. Then select your SD card in the device. Once you've done this press the write button and sit back and let it do all the work. Very easy!!
Load into the Pi
Now that the Debian image has been written to the SD card, put it in the Raspberry Pi. Hook up an Ethernet cable, HDMI, USB keyboard and mouse and connect the power!
The system will boot up and load for the first time, mine required a reboot once through the process. Once it has fully rebooted and is asking for a login, here is the default password and user name.
Username: pi
Password: raspberry
The system is essentially a Debian server with a few added packages. Now most people that are new to the world of Linux won't like the Terminal feel. This is where you will want to start the Graphical User Interface (GUI). To do this type:
startx
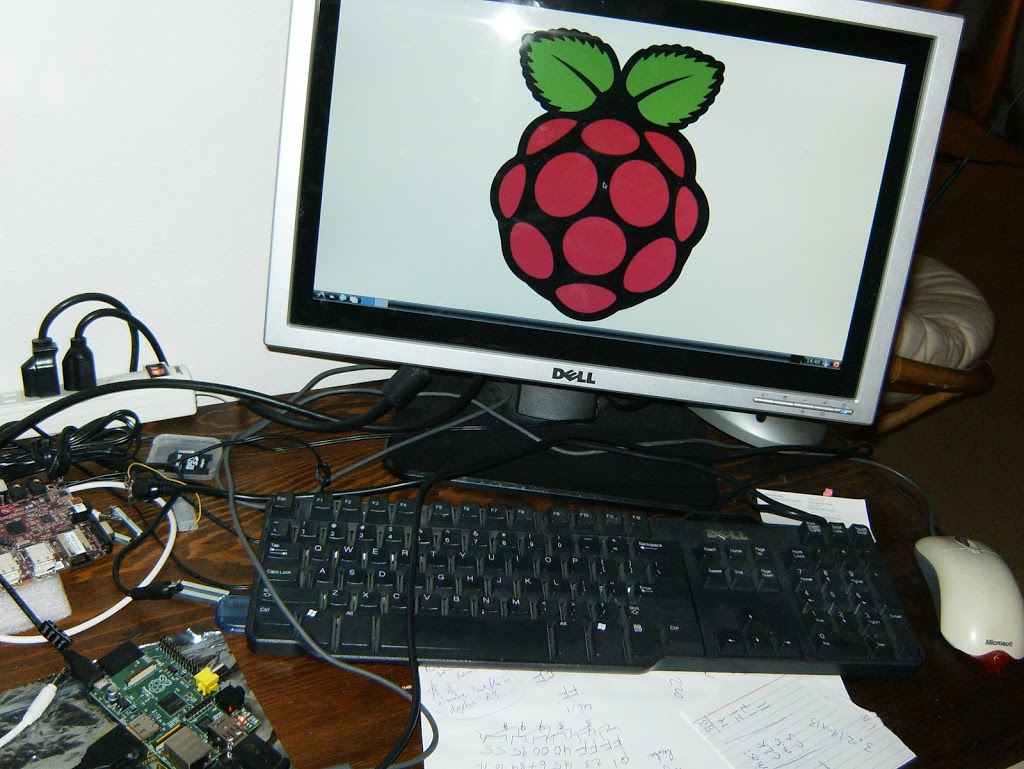
You should see it boot into this screen, and everything is up and running.

One of the last things you should do is update the system. To do this you need to update the list of updates by running:
sudo apt-get update
Then you will want to apply these updates by:
sudo apt-get upgrade
About 20+ minutes later your Raspberry Pi is up and running.
Also, once you boot you'll see a black border around your screen. Add the following to /boot/config.txt and this will fix that problem. Now this file didn't excist for me, so I had to create it first
cd~/
cd /boot/
sudo nano config.txt
add the following line:
disable_overscan=1
Thanks for reading my tutorial about how I got my Pi up and running. Please feel free to comment and ask questions below. I will be doing more tutorials about other features of the Raspberry Pi as time progresses.
Great reference sites:
http://elinux.org/RPi_Beginners
http://elinux.org/RPi_config.txt
Maximum Wire Length Calculator
The calculator can be used to calculate maximum length of copper wires.Voltage (volts)
Current (amps)
Wire Gauge
Voltage Drop (%)
(Calculated Voltage Drop Results)
(Calculated Length Results)
HDMI Ethernet Cables for Australia.